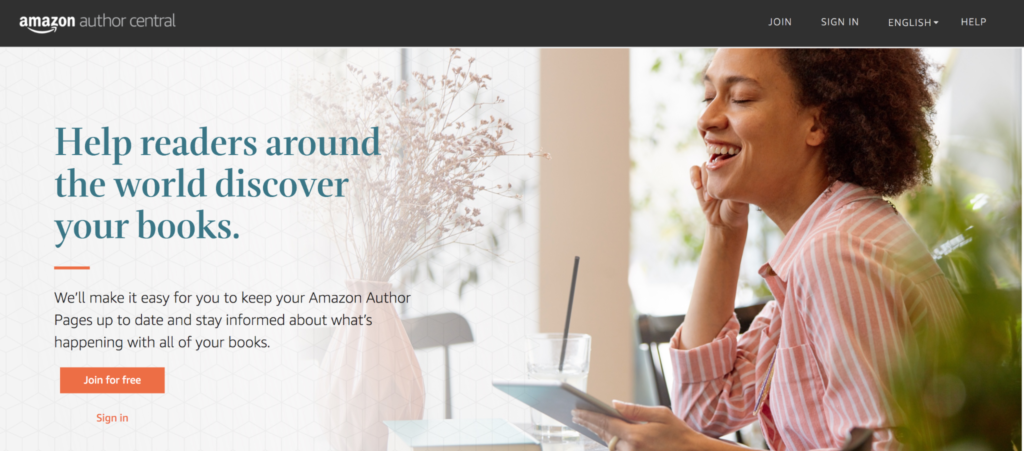
One often overlooked and undervalued marketing tool is Amazon’s Author Central. Many self-published authors skip taking the time to create an Amazon author page and that is a big mistake. This how-to guide will explain the importance of creating an Amazon author page and claiming your books there. It will also show you step-by-step how to set up your page and utilize it to its fullest potential.
Why Should I Sign Up on Amazon Central?
The real question should be why shouldn’t you sign up on Amazon Central? It’s a super simple process, it’s free to do, and it will help you as a self-published author. There is no excuse not to sign up and a lot of reasons why you should. Let’s talk about a few of the reasons why you should stop procrastinating and set up that Amazon author page asap!
● It’s 100% free
That’s right. How often do you find a tool for your self-publishing journey that is 100% free? Not often, we imagine. All it takes is a little bit of time and effort on your part and you can set up your Amazon author page. Amazon doesn’t charge authors for this service and it’s super simple to use. Sounds pretty great already, huh?
● In lieu of a website
While we have strong opinions on why an author should absolutely have a website, we understand that it may not be doable for everyone and that’s what is fantastic about an Amazon author page. If you set up your free page, you will have a landing page of sorts and a link to share and to show off the books you have for sale. If for no other reason, that should be motivation enough to set up your page.
● It’s a marketing tool
An Amazon author page isn’t just to make it easier for readers to find all your books in one place or because you don’t have a legitimate website. It also actually helps you in marketing and sales on Amazon. It is a proven fact that creating an Amazon author page helps boost your visibility in Amazon’s algorithm. It’s true. It does this in a few ways.
→ First, it helps you with visibility. When a reader finds a book of yours and enjoys it, they can easily find all your other books for sale by clicking on your Amazon author page. This leads to more sales and building a readership via Amazon via the + Follow button!
→ Secondly, it helps with branding. In the long run, your brand and online presence will affect your sales. Being able to find all your books and series on a single Amazon author page will boost your online presence, brand, and readership, especially via Amazon’s Kindle Unlimited program.
→ Finally, well-integrated keywords can give you a boost! You can put keywords in the copy of your bio and on your page and this will actually help you by boosting you in Amazon’s algorithms. A lot of authors don’t know this little gem of truth. Using keywords properly on your Amazon Author page will help you be discovered by readers who search those keywords on Amazon.
How Do I Set Up My Amazon Author Page?
Setting up your Amazon author page is super simple to do. Let’s walk through the steps below together.
1. Sign up on Author Central
The first thing you need to do is go to www.author.amazon.com so you can set up your account. However, before you do this you should already have an ebook or paperback live on Amazon via Amazon’s Kindle Direct Publishing platform because the next step in the author page setup is to claim your published titles. As soon as you get on the site, all you have to do is click “JOIN” at the top right-hand side of the page.
Sign in using your Amazon account.
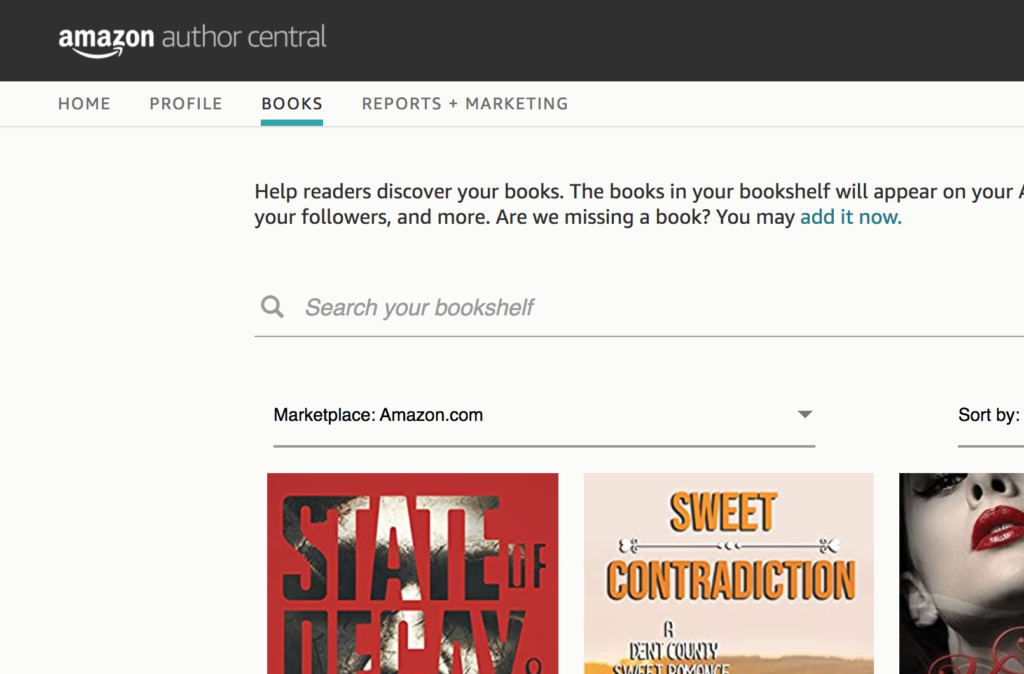
2. Begin by claiming your books
Once you have signed in a welcome page should pop up.
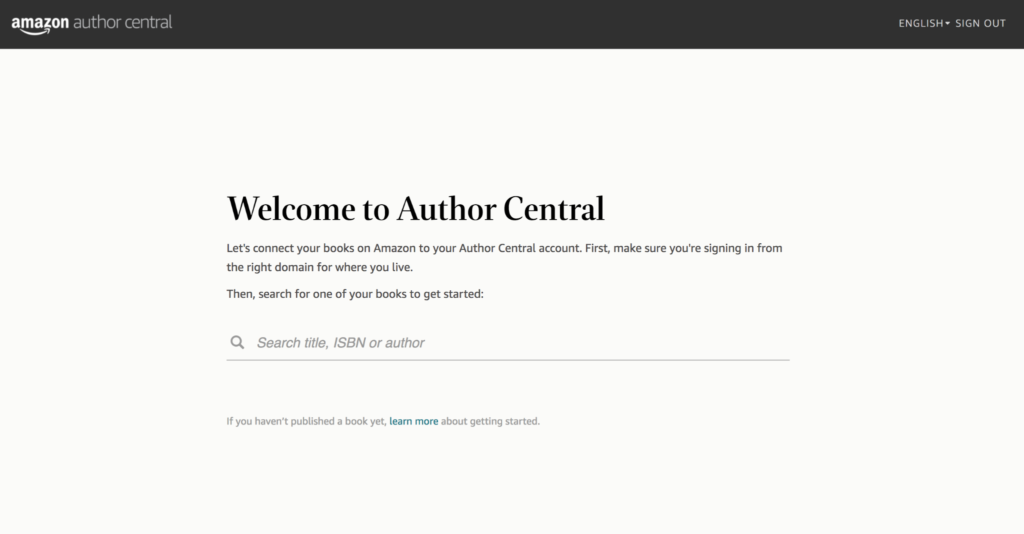
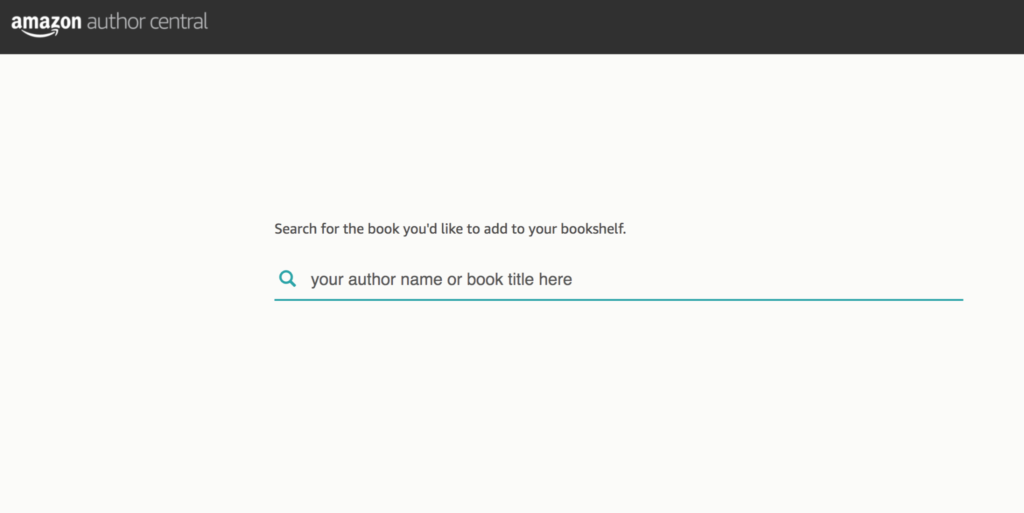
All you have to do is type in either your author name or your book title and hit enter to search for your book(s) on Amazon.
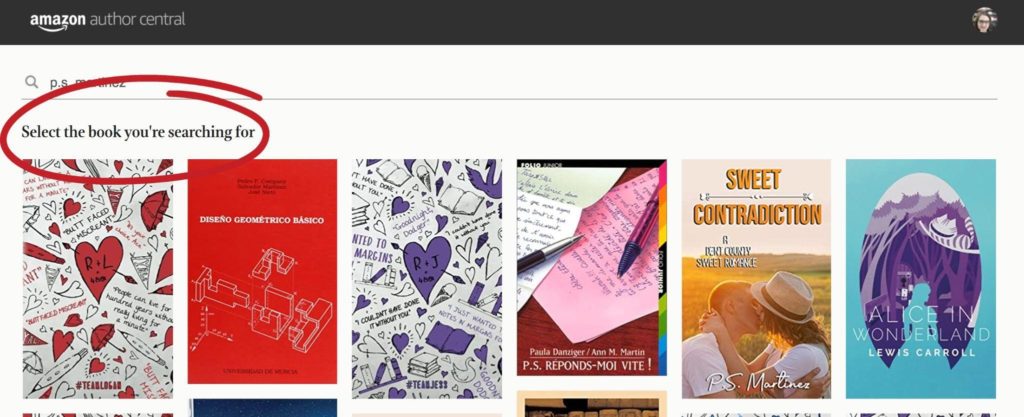
Once book suggestions have popped up, all you have to do is click on the book that is yours and hit “Add This Book” and the book will be added to your Amazon author page. Please note that it may take a little while for your added books to appear.
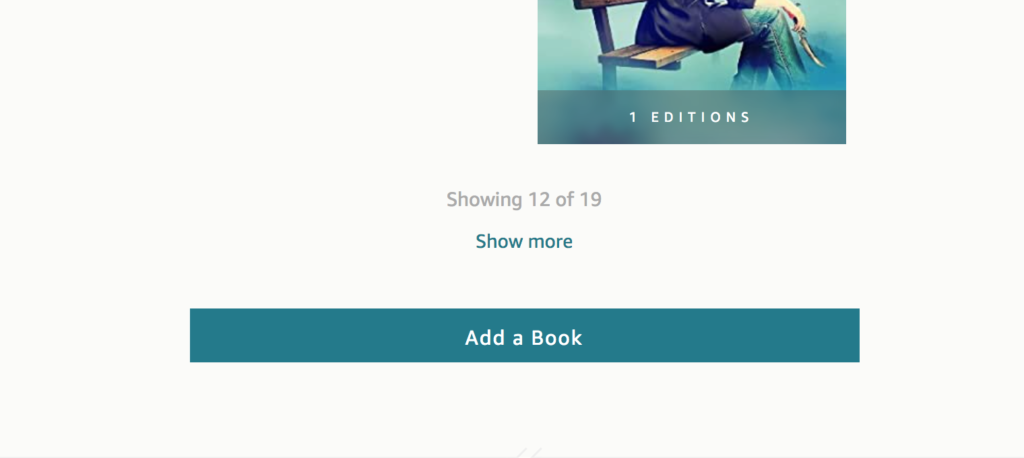
Once you have a title or two claimed, you will find the “Add a Book” button at the bottom of your “BOOKS” page. From there you can add more books to your bookshelf as needed.
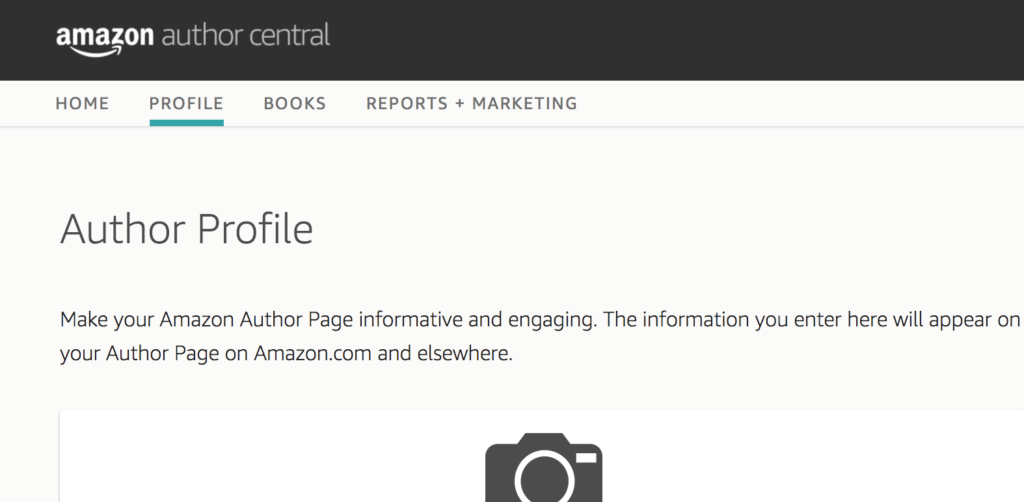
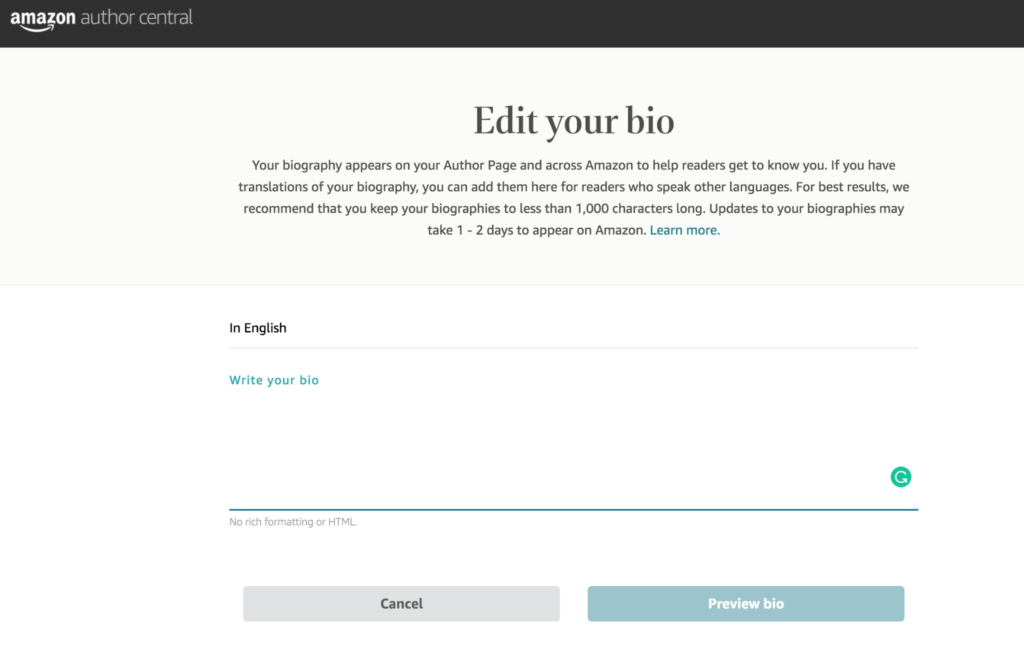
3. Add your well-crafted bio
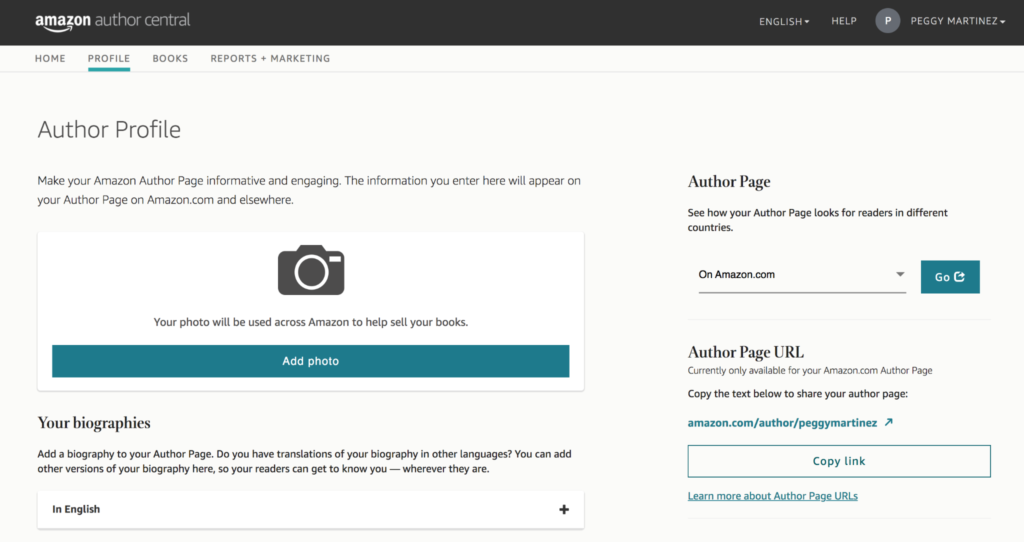
Next, you will want to update and utilize your Author profile by adding your BIO information. Click on your “PROFILE” tab.
Then click on the little + sign beneath the “Your Biographies” section on your profile page.
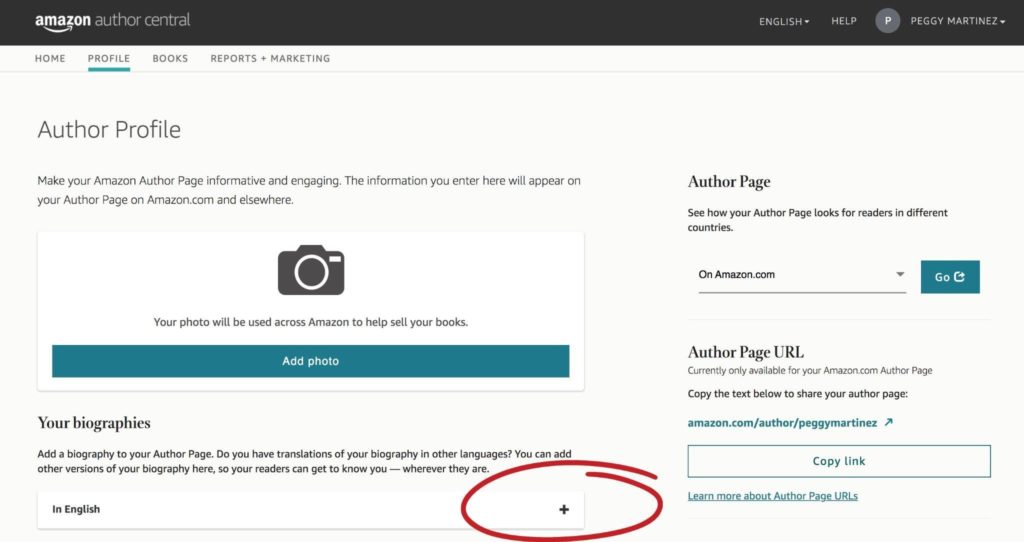
You can edit your bio from this page. Try to keep your bio 1000 characters or less. (approximately 185 words) Also, try to integrate some keywords, tropes, etc., you write in. You may add something like this to the top of your bio so it shows right under your author name. Let’s pretend I write sweet romance. I could add: sweet romance | small town | romcom
After you preview your bio and like it, be sure to hit save.
4. Add Vital Information
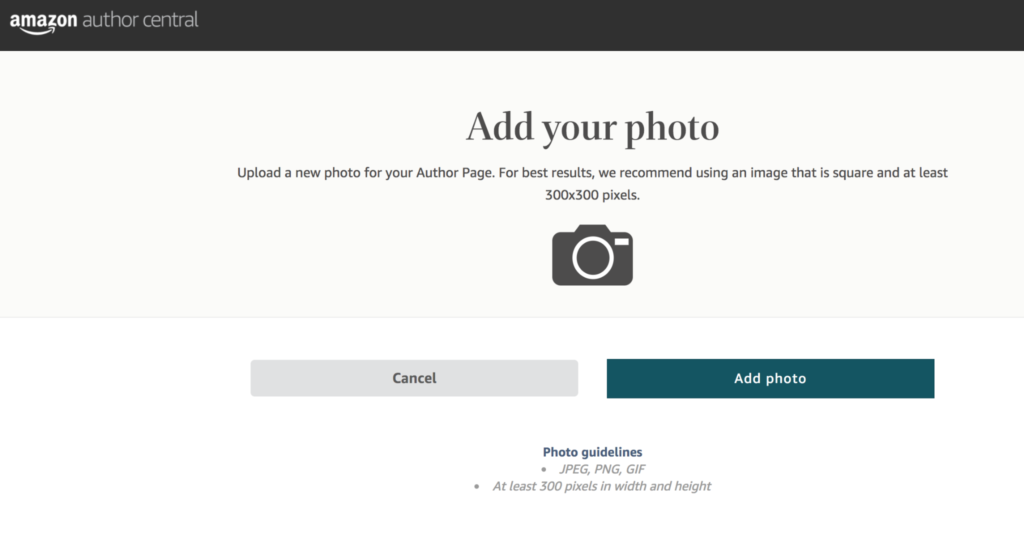
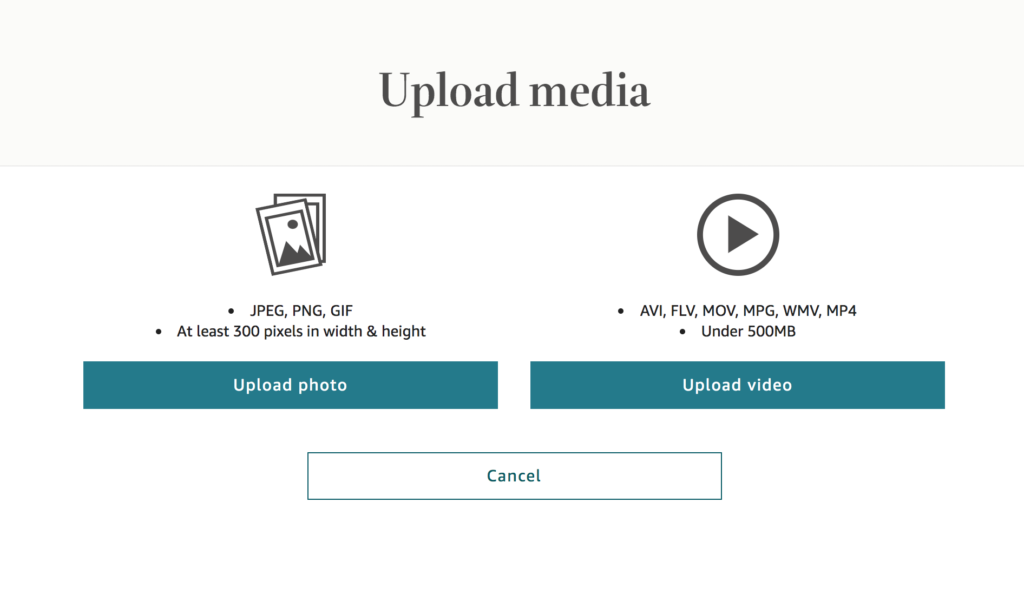
Now that you’ve added your bio and books, be sure to add the rest of your profile information. Add a pic! Be sure the picture is high quality, isn’t too busy, is at least 300×300, and will crop well into a circle. (Use a square image where you are centered in the image for best results!) All you have to do is click that huge camera image to add your profile pic.
Then click “Add photo” to upload the image you’d like to use and click save!
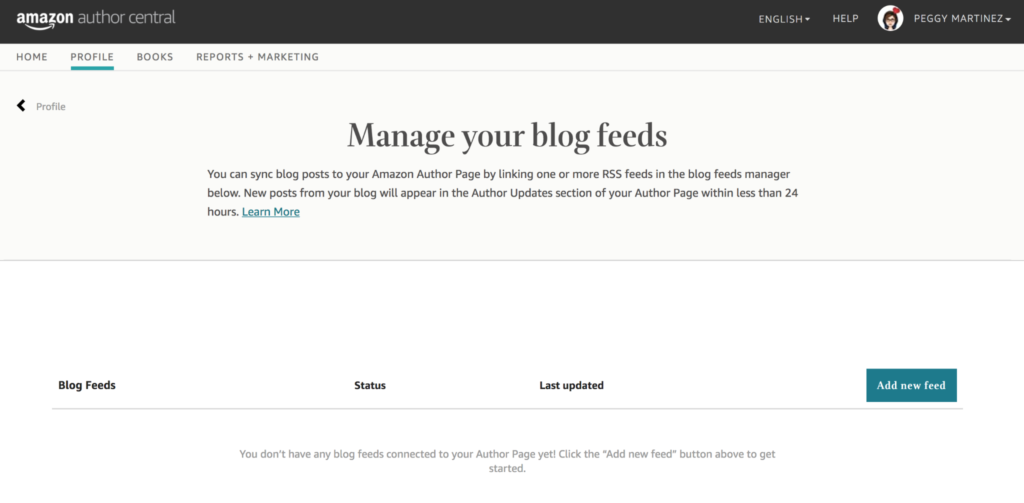
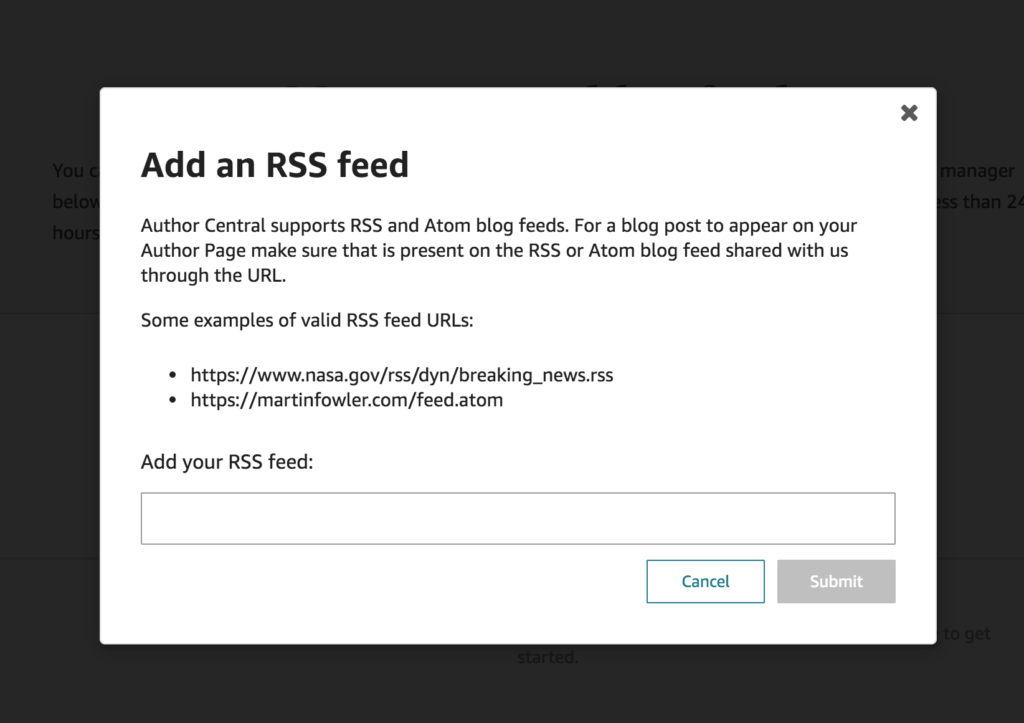
Be sure to add a link to your blog feed if you have one!
And last but not least, add any images or videos to your profile that will resonate with readers.
You can check how your Amazon Author page looks on Amazon.com or on any of the other country platforms by clicking on the “Author Page” link on the right-hand side of your profile page.

And there you have it! It is really is THAT simple to set up your Amazon author page. Now you have nothing to lose and a whole lot to gain by taking a few minutes out of your day to set up this super important piece of your self-publishing marketing plan!